
The Dubai customs clearance procedure is a defined, predictable process — but most importers only realize how predictable it is after their first shipment gets delayed by something entirely avoidable. This guide walks through every step, a distinction almost no other guide makes clearly (the difference between your customs declaration and your Delivery Order), and the free zone nuance that trips up businesses moving goods to the mainland.
Step 1: Register for a Customs Client Code
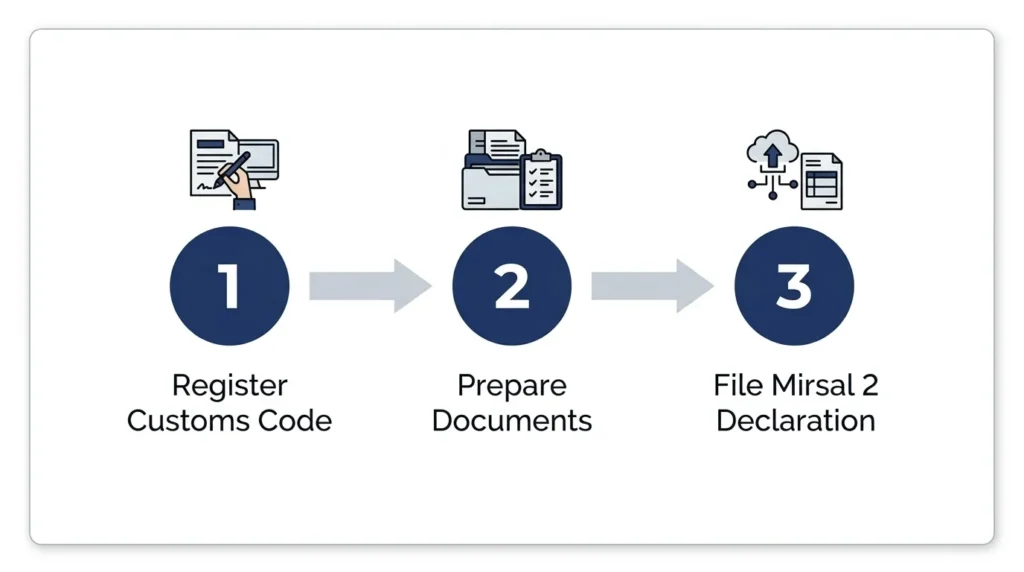
Before you can clear any shipment, your business needs a Customs Client Code, obtained by registering your valid UAE trade license on the Dubai Trade portal. This is a one-time setup per business entity, plus a digital certificate required to file electronic declarations through the Mirsal 2 system.
Step 2: Prepare Your Documents
Every shipment needs a complete, internally consistent set of documents before it reaches port:
- Commercial invoice
- Packing list
- Bill of lading or airway bill
- Certificate of origin
- Any category-specific import permits
Step 3: File the Declaration Through Mirsal 2
Your customs declaration is submitted electronically, entering detailed shipment information — cargo value, description, origin, and intended use. The Mirsal 2 system automatically checks this data against customs regulations.
Step 4: Pay Duty and VAT
Once your declaration is accepted, applicable customs duty (standard rate around 5% of CIF value for most goods) and 5% VAT are calculated and paid online.
Step 5: Inspection (If Selected)
Some shipments are selected for physical inspection based on risk criteria. This can add 3–5 working days if your shipment is flagged.
Step 6: Cargo Release
Once duty and VAT are settled and inspection (if any) is cleared, Dubai Customs authorizes the release of your cargo.
D E S Logistics Services LLC